Integration with Open WebUI
How to set up Open WebUI for accessing neural networks via BotHub
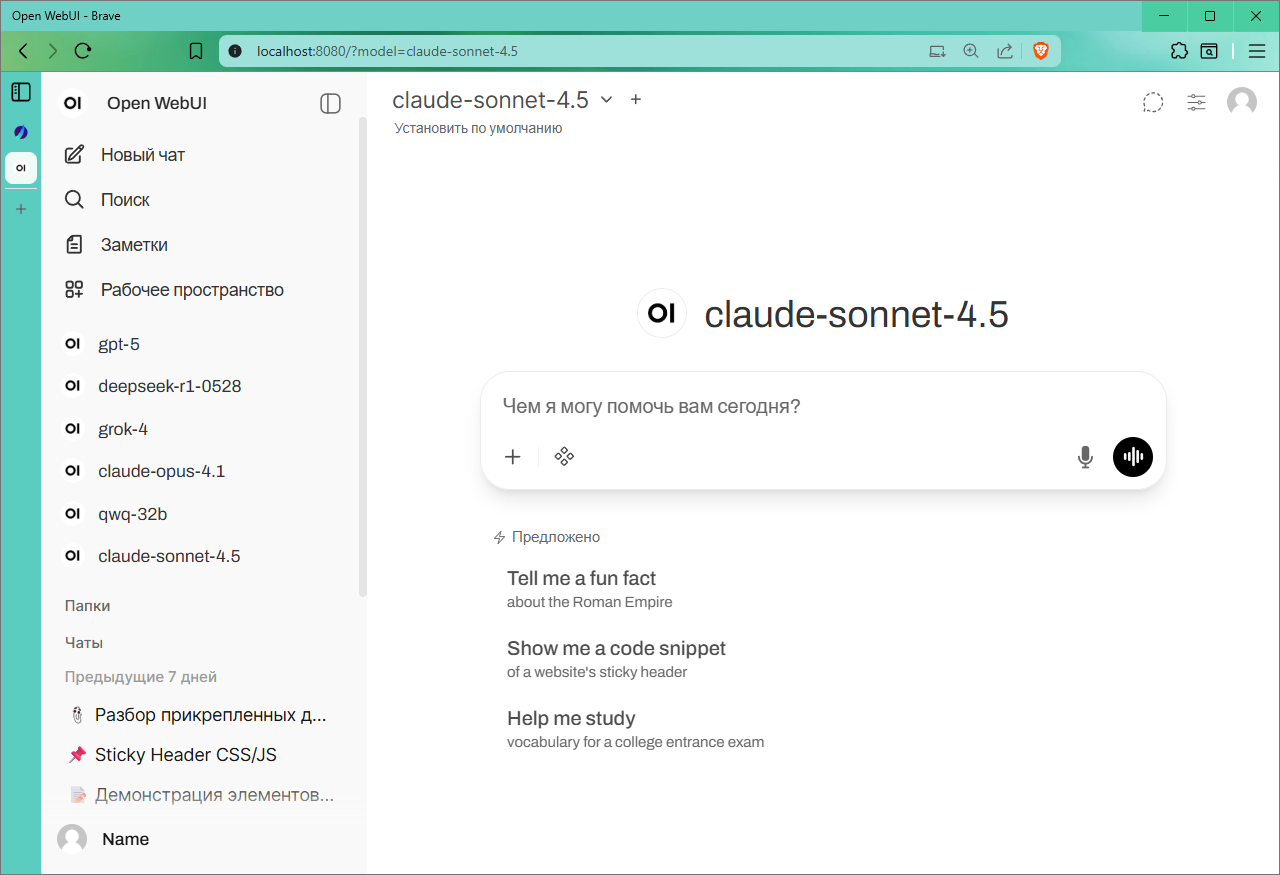
Open WebUI — a widely known AI interface based on the philosophy of offline-server operation. Like LibreChat, it does not install as a simple application but works on the scheme: server + browser tab.
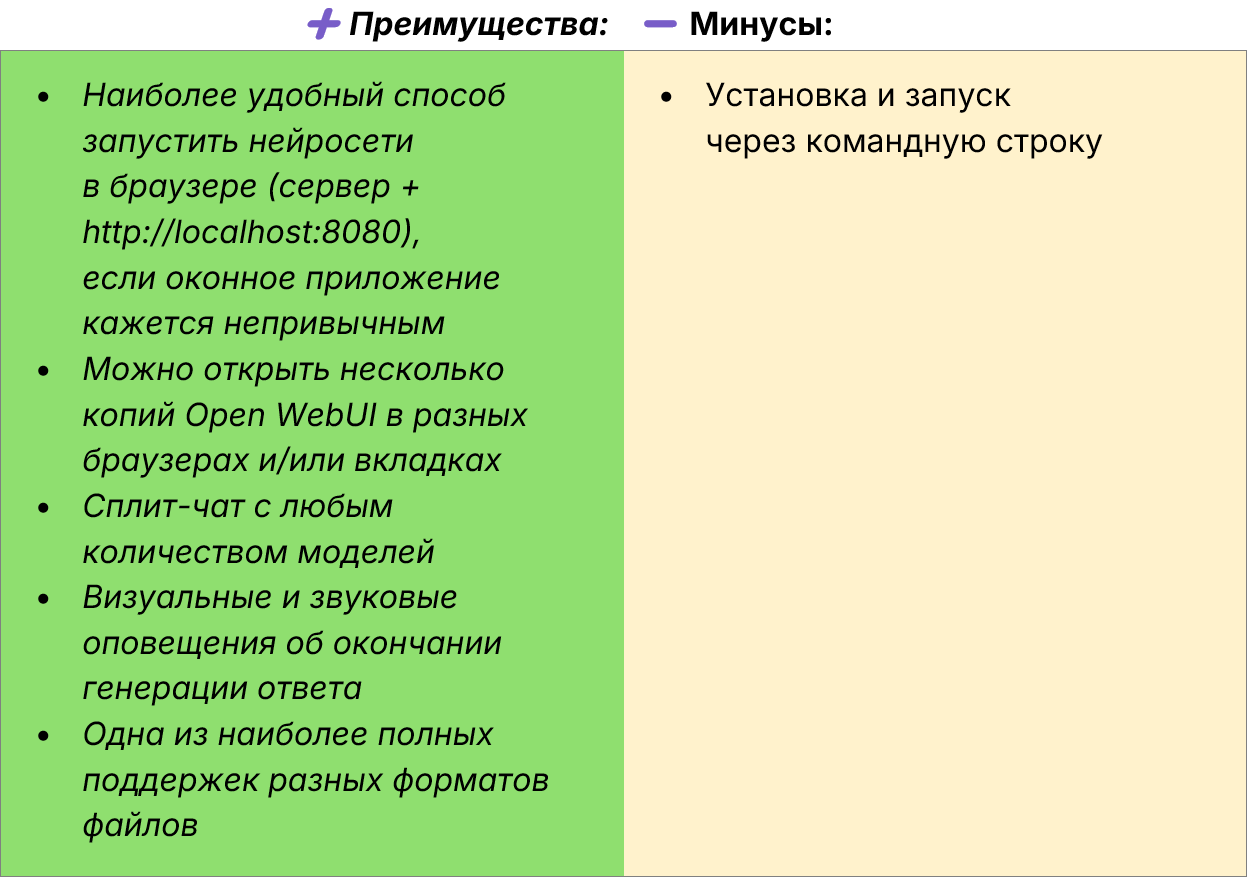
🛠️ How to install and run
1. Install the uv program if it’s not already in your system. To do this on Windows, run the following command:
powershell -ExecutionPolicy ByPass -c "irm https://astral.sh/uv/install.ps1 | iex"
Installation methods for Linux or macOS are described in the official guide.
2. Install Open WebUI using Python 3.11 (recommended by the project authors, the version number is specified in the parameters) with the following command:
powershell -c "$env:DATA_DIR='C:\open-webui\data'; uvx --python 3.11 --with itsdangerous open-webui@latest serve"
Version 3.12 is also suitable, but installing with Python 3.13 or 3.14 may cause errors.
The --with itsdangerous parameter was added to avoid a bug described here. It might be fixed soon, and this parameter can then be removed. In any case, its presence does not cause issues.
3. To avoid typing the command manually each time you start Open WebUI, create a shortcut (right-click → Create → Shortcut) with the following command:
powershell -c "$env:DATA_DIR='C:\open-webui\data'; Start-Process powershell -ArgumentList 'uvx --python 3.11 open-webui@latest serve'; Start-Sleep -Seconds 3; Start-Process http://localhost:8080/"
This shortcut launches the server and, after 3 seconds (adjustable via -Seconds), opens Open WebUI in the browser. Exact timing may vary due to program updates.
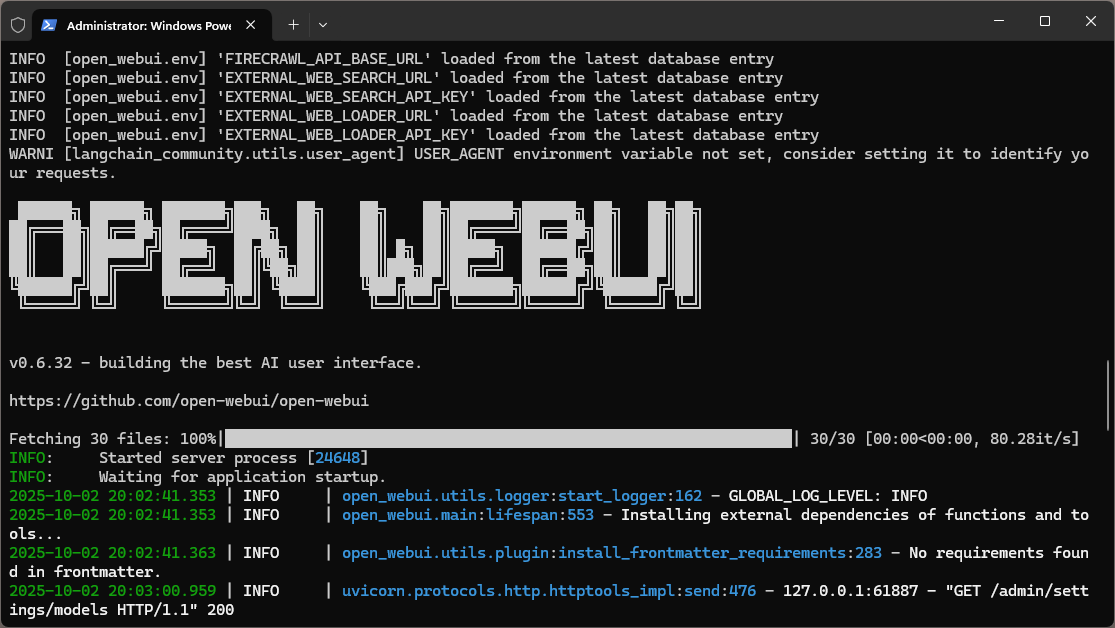
4. When an ASCII art with "OPEN WEBUI" appears in the console, the server is successfully running.
5. Open your browser and go to: http://localhost:8080/. You will see this screen:
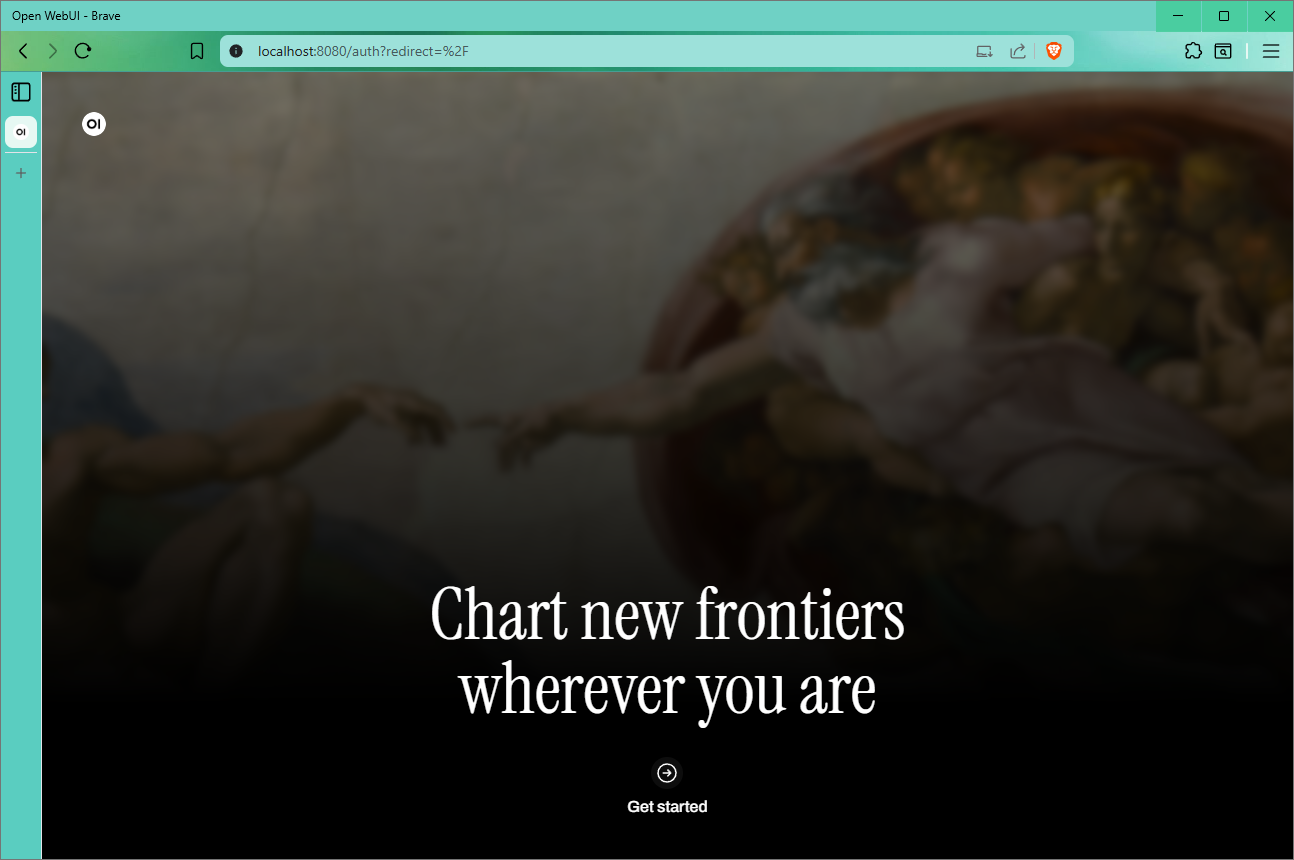
6. Click Get started to register the first user. Enter data and click Create admin account. Since this is a local server, email confirmation is not required.
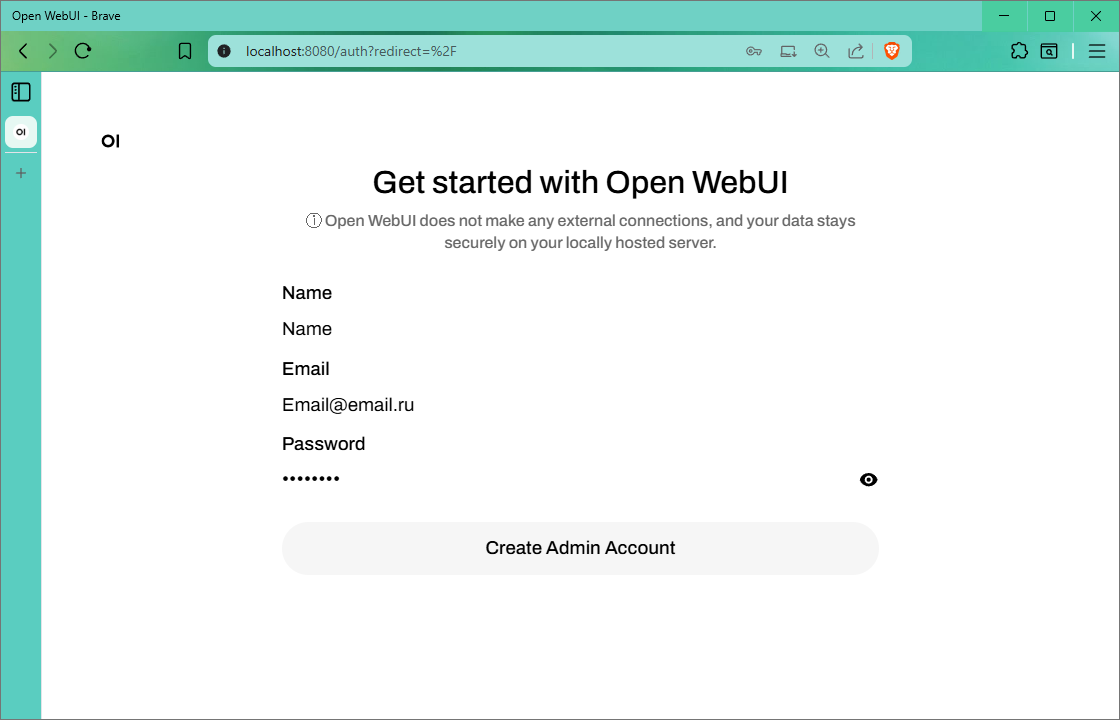
The first registered user becomes the administrator, and subsequent users are created as regular users activated through the admin account.
⚙️ How to connect and what to configure
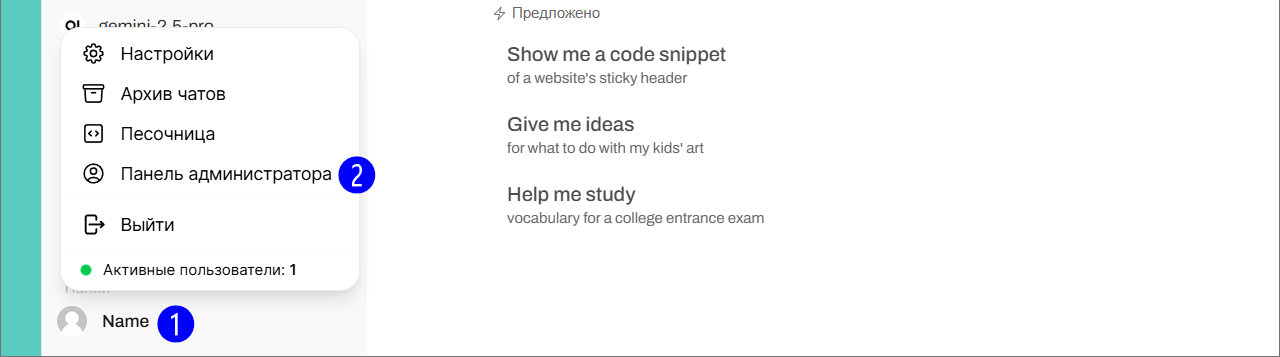
Open WebUI has two sections of settings, which can be confusing. The first is simply Settings, and the second is Admin Panel; in the admin panel, there are subsections: Users, Ratings, Features, and again, separate Settings. Many important parameters are in the second Settings, including API endpoint configuration.
You can enable Russian by selecting it in Settings → General → Language.
First, let's connect to the API.
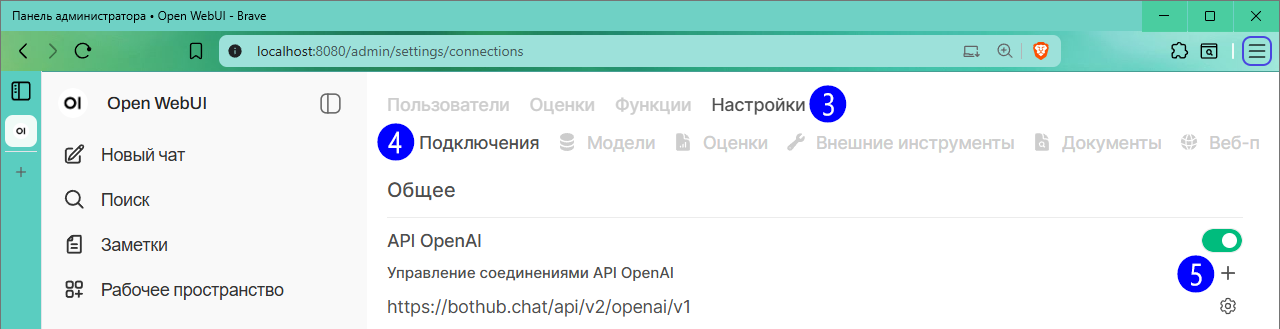
1. Go to Admin Panel → Settings → Connections.
2. Click + (Add connection).
3. Enter these parameters:
-
Connection type: External
-
URL:
https://openai.bothub.chat/v1 -
Authentication: Bearer
-
Enter your key-password here (can be generated/copied via this link)
-
Provider type: Open AI
-
Click Save.
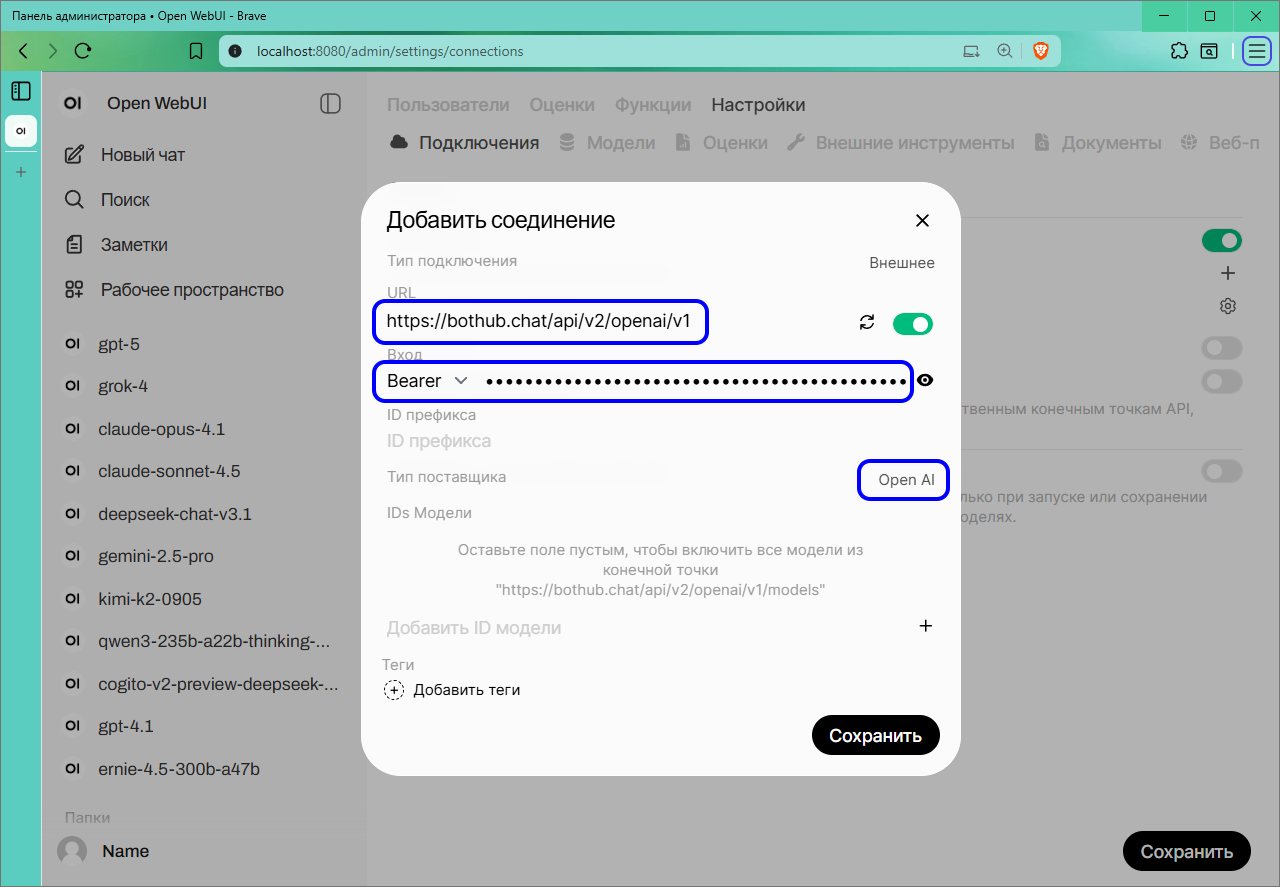
At this stage, you can leave the models list empty — Open WebUI will load all available models automatically.
4. To transmit files in full form, disable intelligent attachment management. Go to Admin Panel → Settings → Documents and check the box Bypass embedding and data extraction.
5. In Admin Panel → Settings → Models, hide unnecessary models using the commands: ⋯ → Hide model or toggle switch.
6. In Settings and Admin Panel → Settings, there are additional features:
-
Disable Automatic continuation in Interface if you don't want a list of five continuation ideas to generate.
-
Enable Temporary chat by default — activates anonymous mode: new dialogues will be temporary unless manually activated.
-
☑️ Bubble UI chat — changes dialogue display: — Off: all messages on the left; — On: AI responses aligned to the right (messenger style).
7. Notifications:
There are three types:
-
Pop-up message in the corner when inside Open WebUI but in another dialogue.
-
Sound notifications, triggered when switching tabs or apps. Turn off via Settings → Interface → ⬛ Notification sound.
-
Browser push notifications, enabled via Settings → Search → ☑️ Notifications. These appear over the desktop even if the browser is minimized.
Mix these options to ensure you won't miss when the AI finishes generating.
To always play sound, enable: Settings → Interface → ☑️ Always play notification sound.
Don’t forget to click Save after changes to apply settings.
🧙 How to use Open WebUI
Pin useful models to the sidebar: find models in the list and click ⋯ → Pin to sidebar.
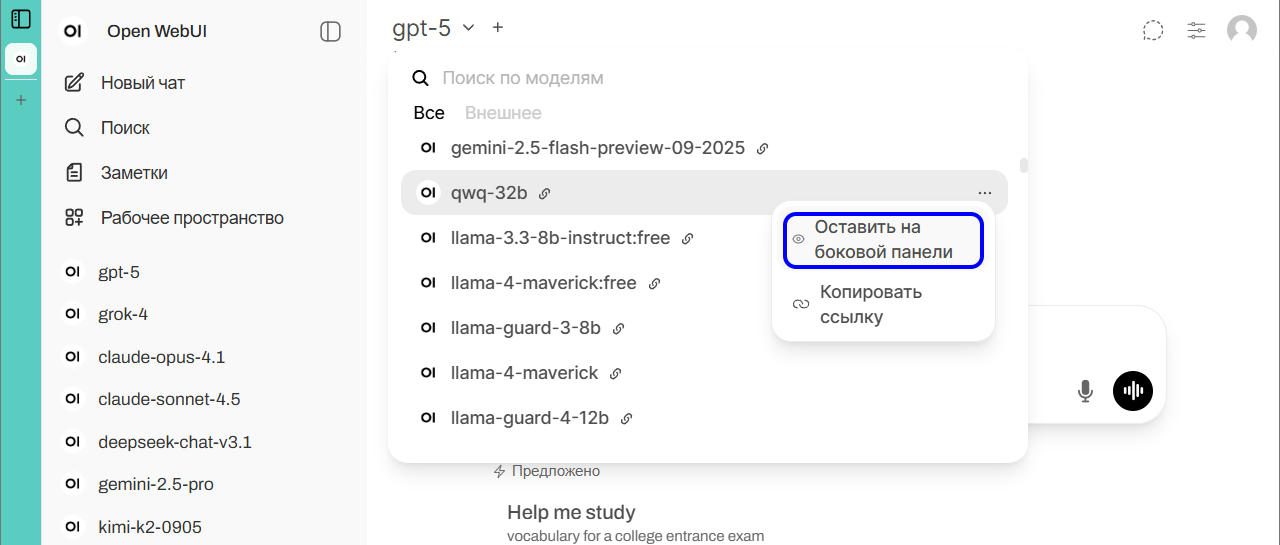
You can also pin models via browser bookmarks. Go to Admin Panel → Settings → Models, find the link like: http://localhost:8080/?model=model_name. Drag and drop this link into your bookmarks bar. Opening it will load the page with the selected model.
Split chats
Create a split chat by clicking + next to the models list. Here, one message was sent to three models simultaneously:
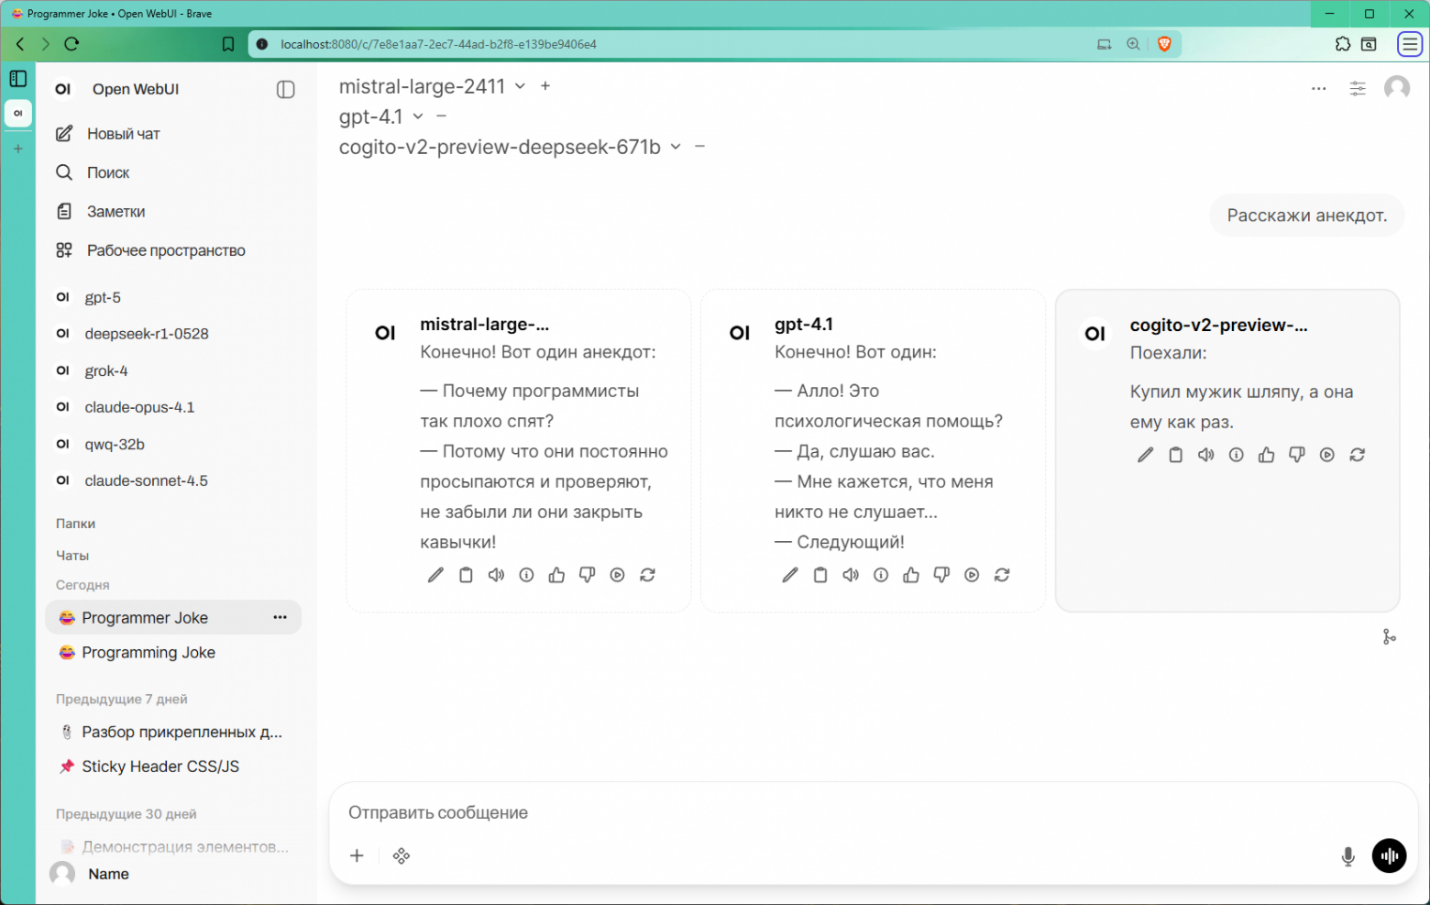
Useful for comparing styles, accuracy, or behavior. If many models are used and don’t fit horizontally, a horizontal scrollbar appears at the bottom for scrolling.
For active split chats with more than three models, enable Widescreen mode in settings to extend display horizontally.
Open WebUI supports files well: attach one or multiple (including different formats), ask questions, request analysis, summarization, or cross-comparisons.
More detailed article: https://habr.com/ru/companies/bothub/articles/953986