Integration with LibreChat
How to set up LibreChat for accessing neural networks via BotHub
Note. The LibreChat program has limited features (and is complex to install). If more flexibility is needed, it's better to choose one of the following solutions:
• Msty, Cherry Studio (for Windows, Linux, macOS);
• Open WebUI (server + browser access).
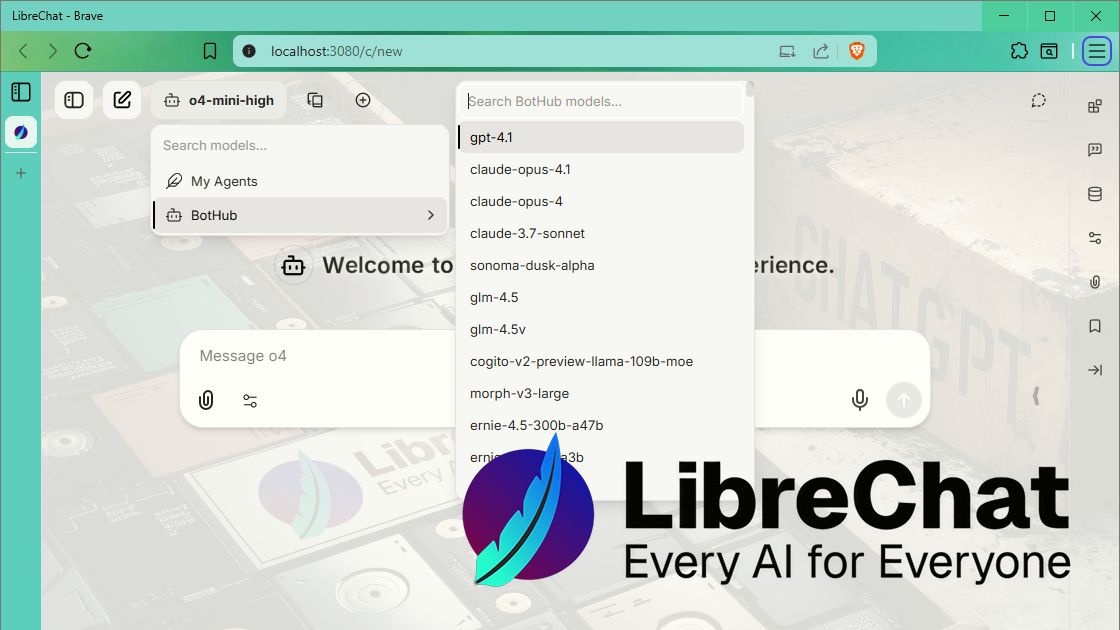
LibreChat is a free open-source all-in-one chatbot application, sort of a ChatGPT clone, not tied to a single AI provider.
LibreChat has a web interface (very similar to common chatbots), where you can connect any services with an OpenAI-compatible API.
How to install and configure
Ensure you have Git (https://git-scm.com/downloads) and Node.js (https://nodejs.org/en/download). If not, install them.
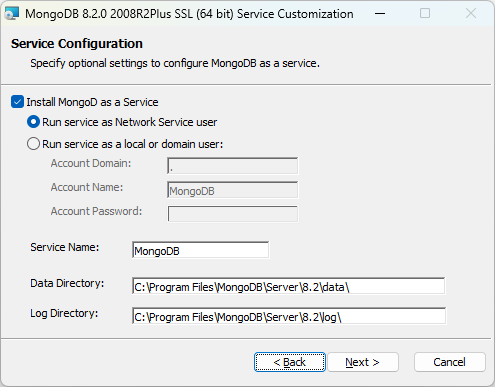
1. Installing MongoDB
Download and install MongoDB (https://www.mongodb.com/try/download/community).
2. Cloning LibreChat
Clone the LibreChat project with the following command:
git clone https://github.com/danny-avila/LibreChat.git D:\LibreChat
3. Setting up LibreChat\env
Go to the D:\LibreChat folder and find the .env.example file. Copy it as .env (the filename has 4 characters after the dot).
Configuring secret keys
Open .env with a text editor and fill in the secret keys: CREDS_KEY, CREDS_IV, JWT_SECRET, JWT_REFRESH_SECRET, MEILI_MASTER_KEY. These are used for encryption in LibreChat. You can generate them here. Click Generate and copy the strings into the .env file after the = signs. Do this before first launching LibreChat.
Adding BotHub API key
-
Click Add Key.
-
Enter a descriptive name, e.g., "LibreChat".
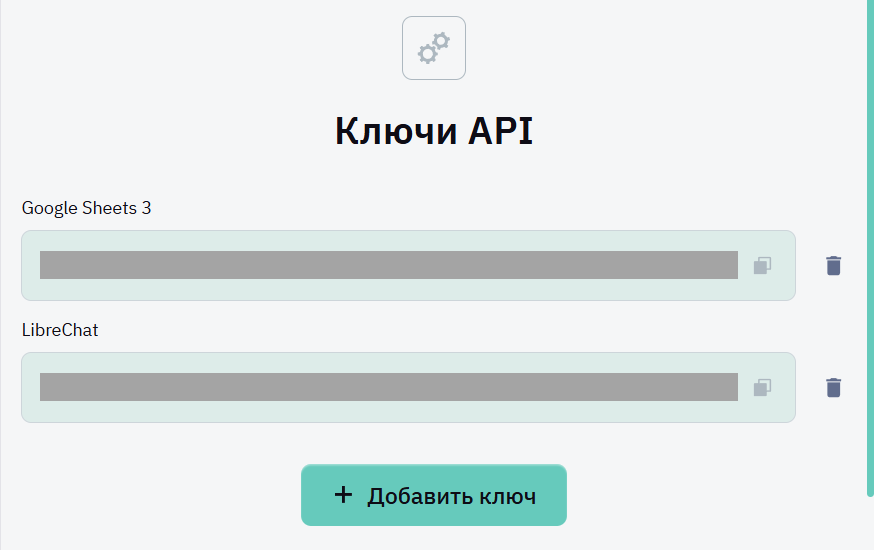
- Append the generated key to
.env:
BOTHUB_API_KEY=abc56f3657f7b65bd765...
4. Configuring LibreChat\librechat.yaml
Copy librechat.yaml.example in the root of LibreChat to librechat.yaml. Open it and add the - name: "BotHub" block under endpoints.custom. Maintain proper indentation:
endpoints:
  custom:
    - name: "BotHub"
      baseURL: "https://openai.bothub.chat/v1"
      apiKey: "${BOTHUB_API_KEY}"
      models:
        default:
          [
            "gpt-5",
            "claude-sonnet-4",
            "grok-4",
            "deepseek-r1-0528",
            "gemini-2.5-pro-preview",
            "kimi-k2",
          ]
        fetch: true
      titleConvo: true
      titleModel: "current_model"
      modelDisplayLabel: "BotHub"
"${BOTHUB_API_KEY}" is a variable that pulls from .env, do not insert the actual key manually here.
The model list (gpt-5, claude-sonnet-4, grok-4, etc.) is just an example; thanks to fetch: true, the list will load automatically.
5. Installing LibreChat dependencies
Run:
cd /d D:\LibreChat && npm ci
This installs required modules.
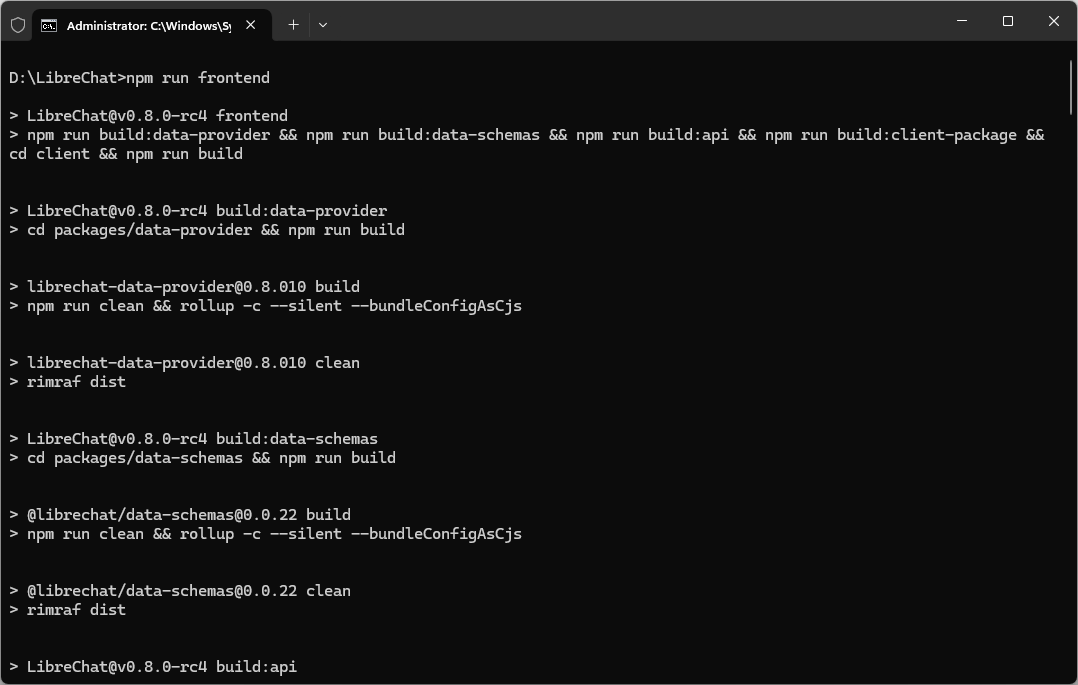
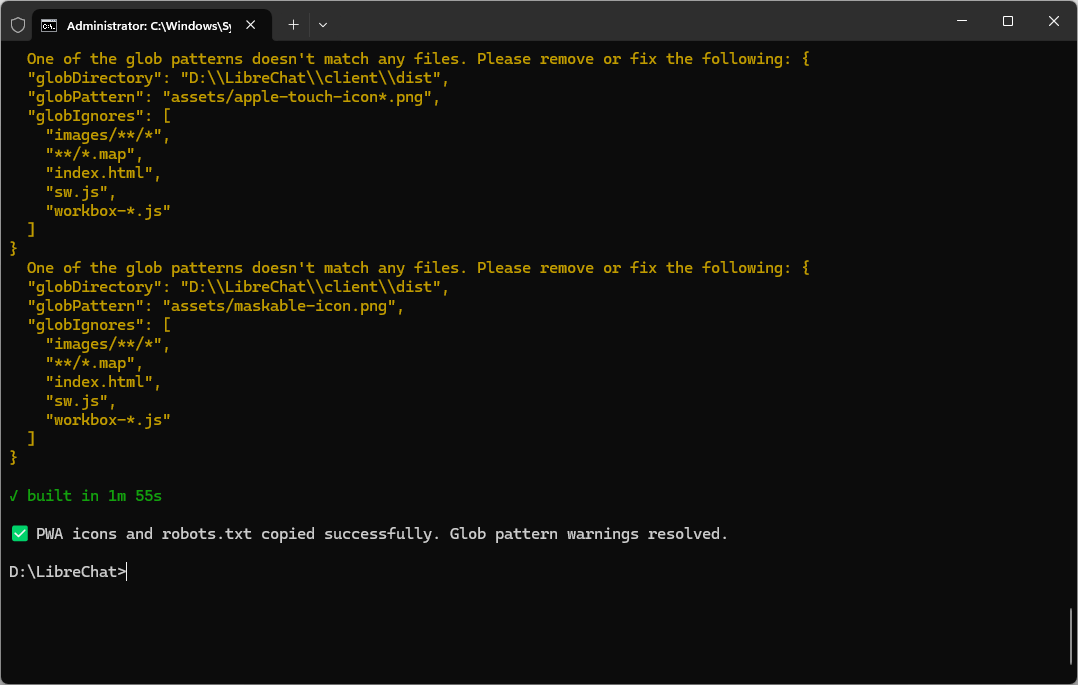
Build the frontend:
cd /d D:\LibreChat && npm run frontend
Screenshots of the process:
6. Starting the server + creating a shortcut
Run:
-
npm start backend -
Open LibreChat at http://localhost:3080
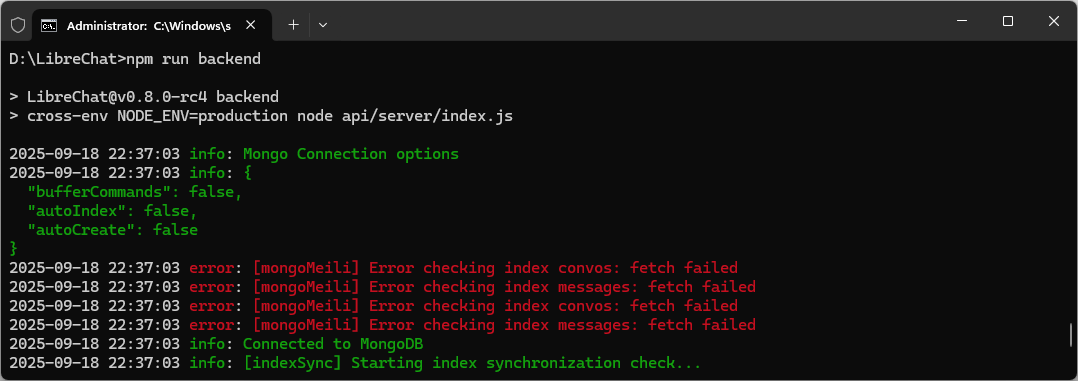
The logs indicate the server is active:
Create a shortcut that launches the server and opens the page automatically (Windows):
C:\Windows\System32\cmd.exe /c "curl -s http://localhost:3080 >nul 2>&1 && (start http://localhost:3080) || (start cmd /k cd /d D:\LibreChat ^&^& npm run backend & timeout /t 3 >nul & start http://localhost:3080)"
Note: If the page does not load immediately, wait a few minutes and refresh.
7. Registering and testing the chat
Registration
-
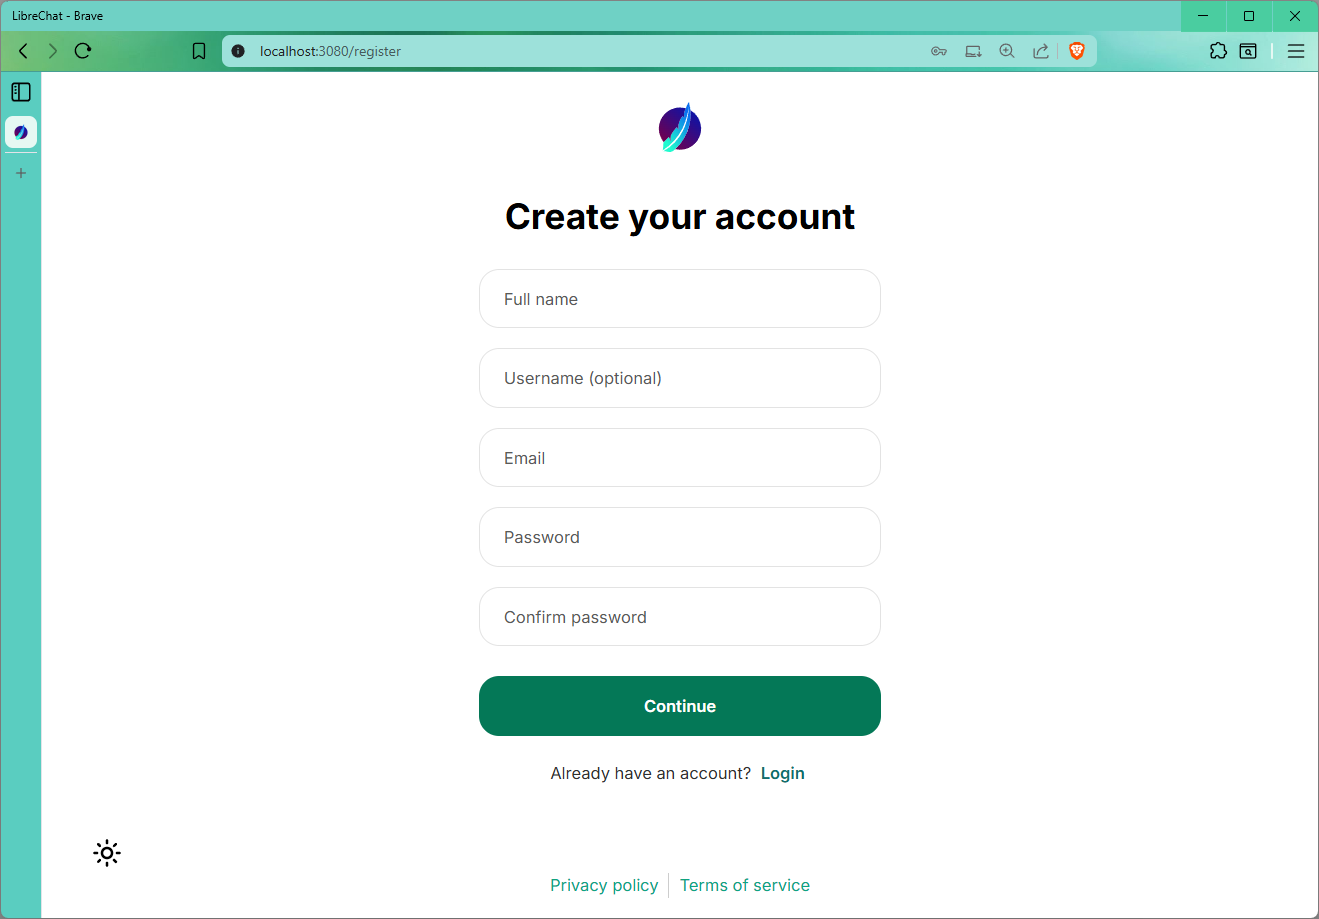
In LibreChat, click Sign up.
-
Enter username, nickname (optional), email, password, confirm password. Data is not sent anywhere, so you can use arbitrary values.
- Log in with the same email and password on the next screen.
Interface overview
Main page resembles ChatGPT or Grok.
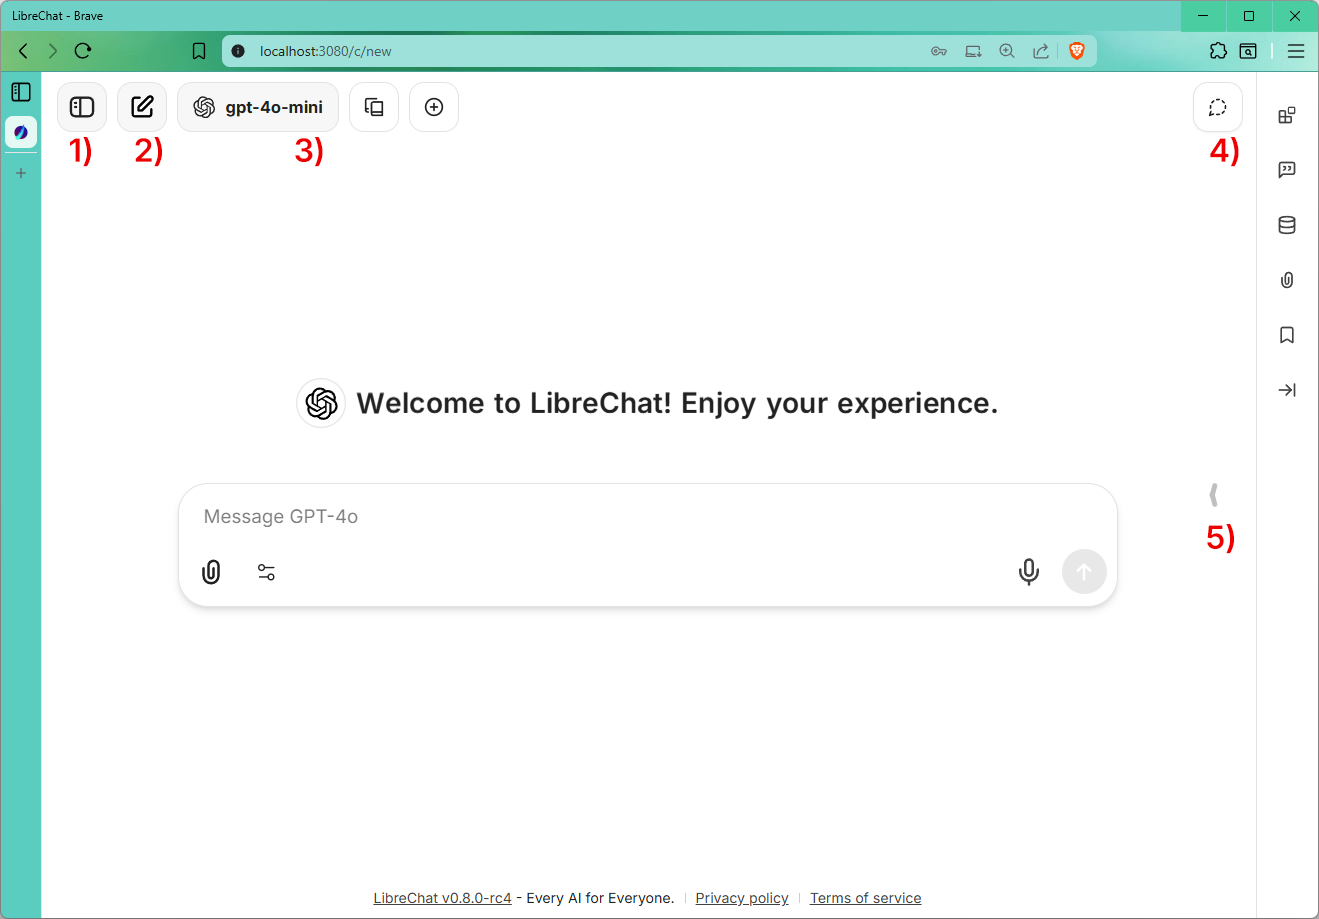
Main functions:
-
Toggle chat list visibility.
-
Start a new chat.
-
Select model: BotHub appears here. Click and choose a model (e.g., gpt-5 or claude-sonnet-4.5). LibreChat contacts BotHub via API and gets generated responses.
-
Enable temporary chats (not saved).
-
Show sidebar with additional functions (prompt templates, memory, etc.).
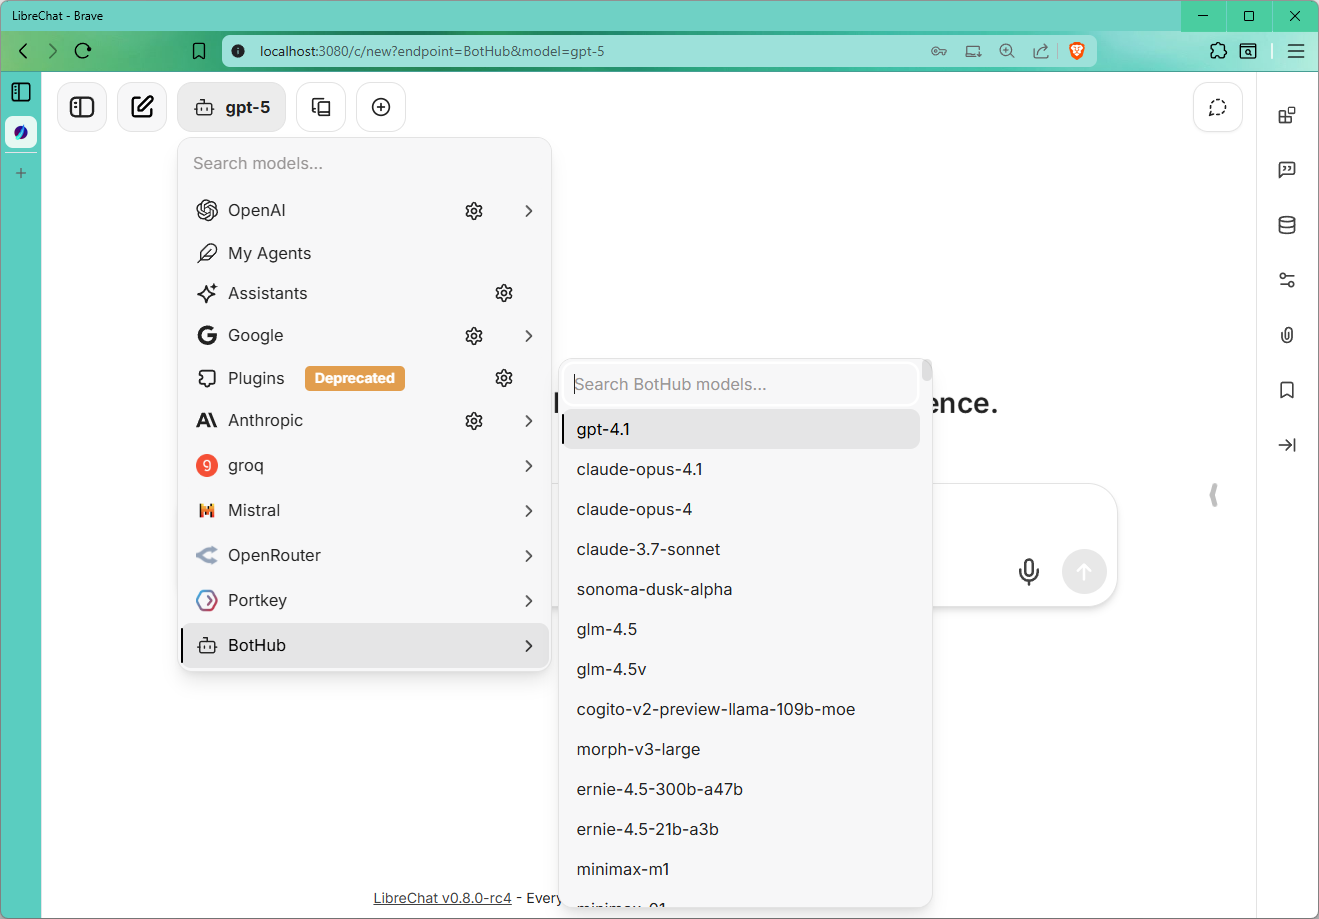
Search models in "Search models..." or "Search BotHub models...".
Start conversations, ask questions, observe streaming responses.
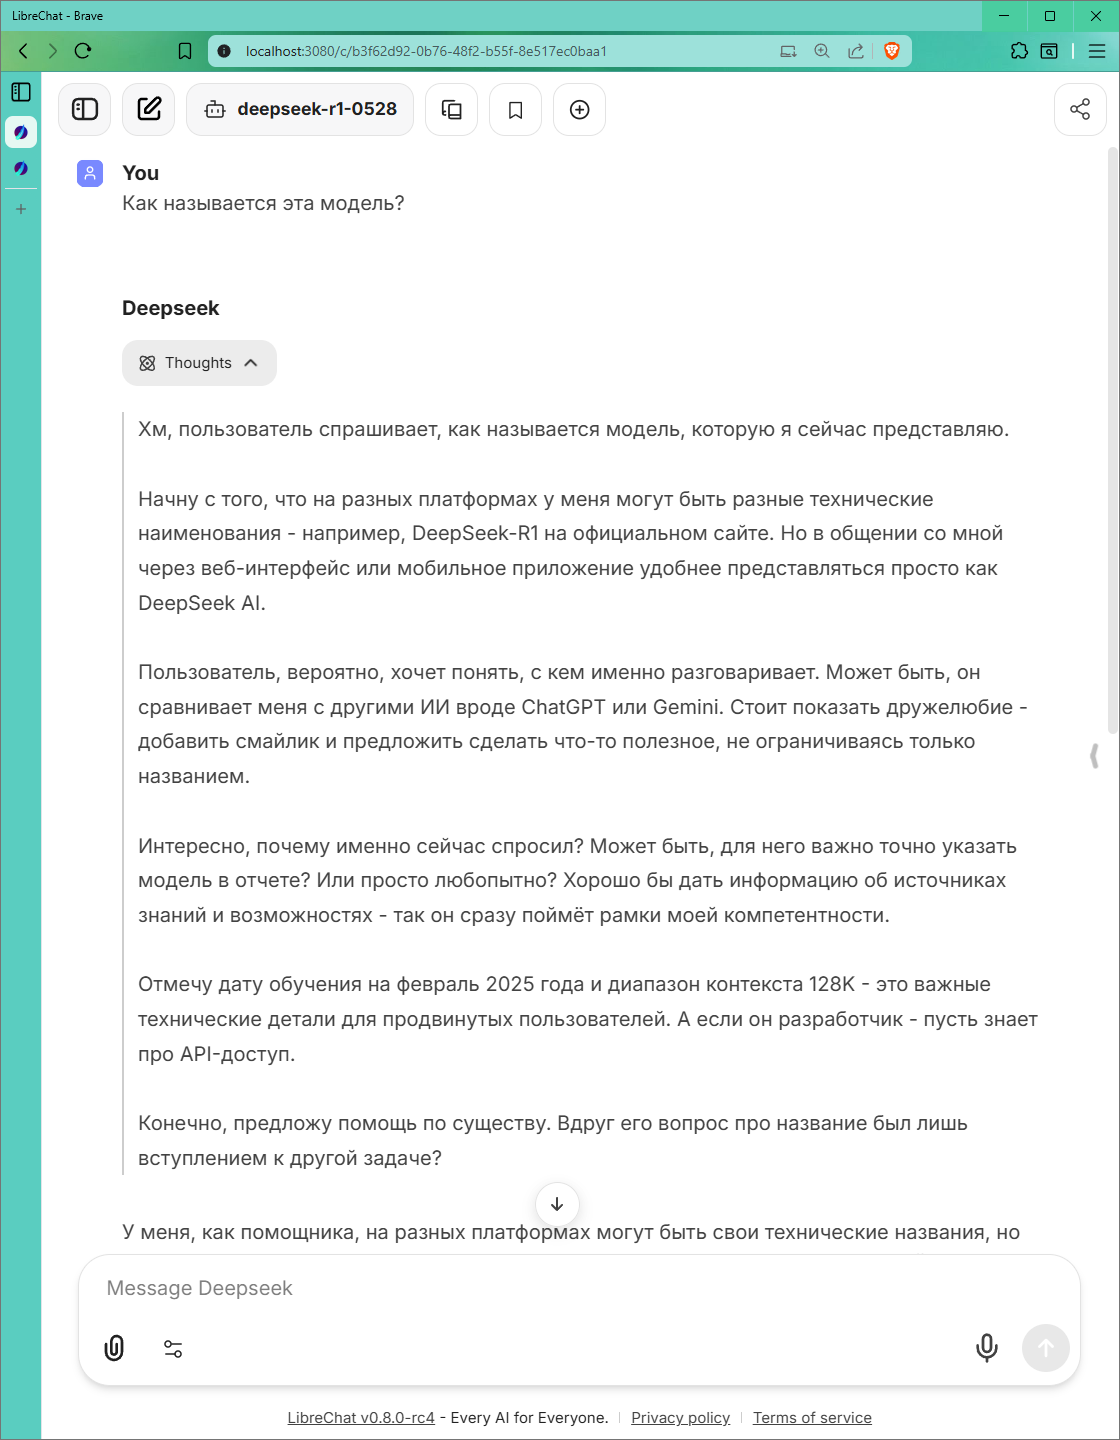
To customize model lists, edit librechat.yaml and remove entries you don't need (around line 97). This speeds up model search.
8. How to update
Run:
cd /d D:\LibreChat && npm ci
9. Installation differences for Linux and Mac
Linux
-
Install MongoDB via package manager:
sudo apt install -y mongodb. -
Use paths like
/home/you/LibreChator~/LibreChat. -
.envlocation:~/LibreChat/.env -
librechat.yaml:~/LibreChat/librechat.yaml -
Run commands:
cd ~/LibreChat && npm ci. -
Create shell scripts or
.desktopfiles for launching.
Mac
-
Use Homebrew:
brew tap mongodb/brewandbrew install mongodb-community. -
Paths:
/Users/you/LibreChator~/LibreChat. -
.envandlibrechat.yamlsimilar to Linux. -
Run commands:
cd ~/LibreChat && npm ci. -
Permissions: may need
sudo chown -R $(whoami) ~/LibreChat. -
Use Automator or shell scripts to start.
10. Attaching files in LibreChat
LibreChat does not natively support file uploads, only images or plain text files (.txt, .csv, .tsv, code). Office formats (.pdf, .docx, .xlsx, .pptx, etc.) are limited to RAG mode.
To enable full file support:
-
Install PostgreSQL (https://www.postgresql.org/download/).
-
Install or update Build Tools for Visual Studio.
-
Clone pgvector:
git clone https://github.com/pgvector/pgvector.git D:\pgvector
- Use x64 Native Tools Command Prompt for VS 2022 to build:
set "PGROOT=C:\Program Files\PostgreSQL\17" && cd /d D:\pgvector && nmake /F Makefile.win && nmake /F Makefile.win install
- In PostgreSQL, create database and user:
CREATE DATABASE rag_db; CREATE USER rag_user WITH PASSWORD 'rag_password_123456' SUPERUSER;
- Clone rag_api:
git clone https://github.com/danny-avila/rag_api D:\
-
Install Python 3.11/3.12, set environment, install dependencies, and configure
.env. -
Launch RAG server:
cd /d D:\rag_api && C:\rag_env\Scripts\python.exe -m uvicorn main:app --host 0.0.0.0 --port 8000
- Set in
.env:
RAG_API_URL=http://0.0.0.0:8000
- In LibreChat, with RAG server running, upload files (.txt, .pdf, .docx, etc.) for file search or summarization. Files can be attached via icon or drag-and-drop.