Integration with ChatMCP
How to set up ChatMCP for neural network access via BotHub
Note. The Kaas program has limited features. If you need more flexibility, it's better to choose one of the following solutions:
• Msty, Cherry Studio (for Windows, Linux, macOS);
• Open WebUI (server + browser access).
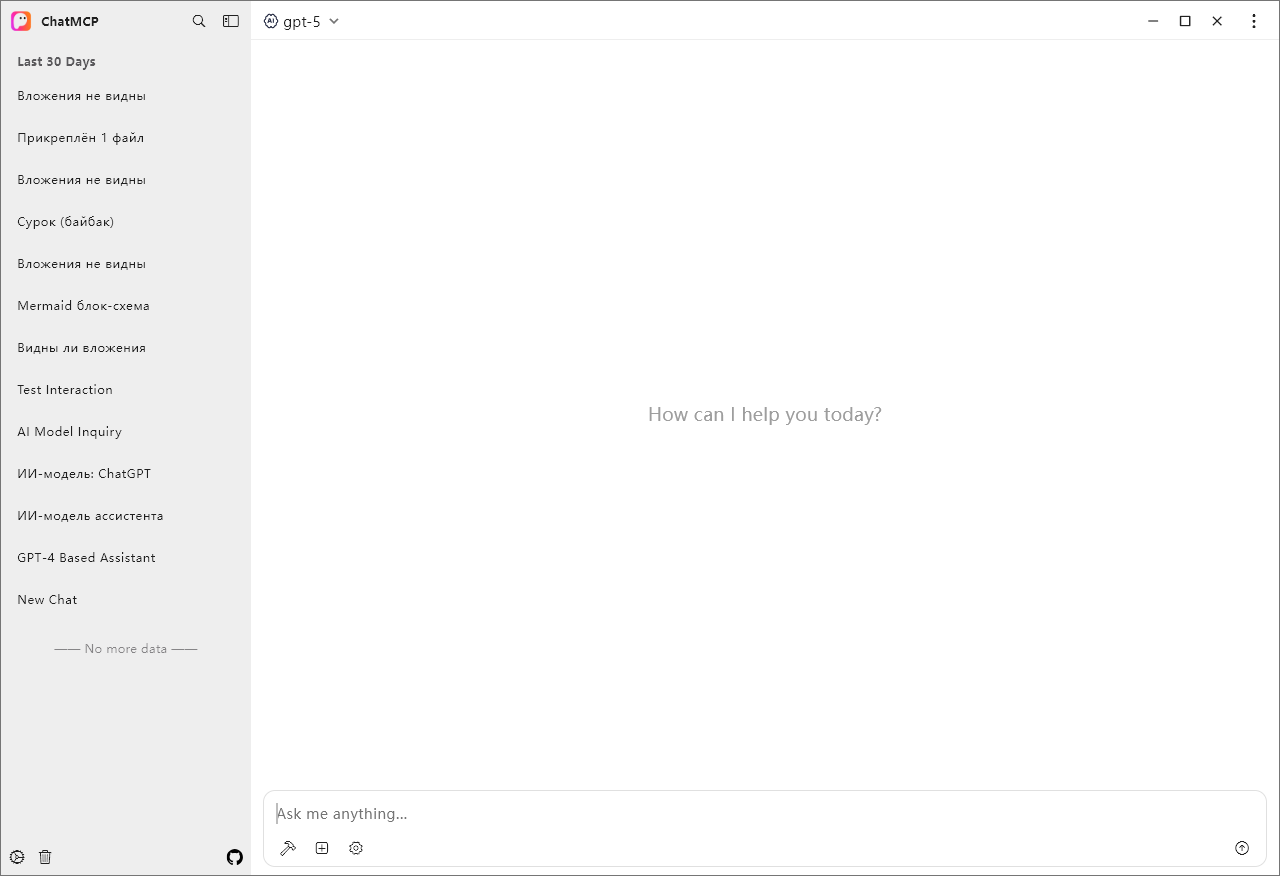
ChatMCP is a program for accessing neural networks for Windows, Linux, and macOS.
🛠️ How to install
Download installers for Windows, Linux, macOS from the GitHub releases, also an .apk file for Android.
For iOS, installation is done via TestFlight.
⚙️ How to connect and what to configure
-
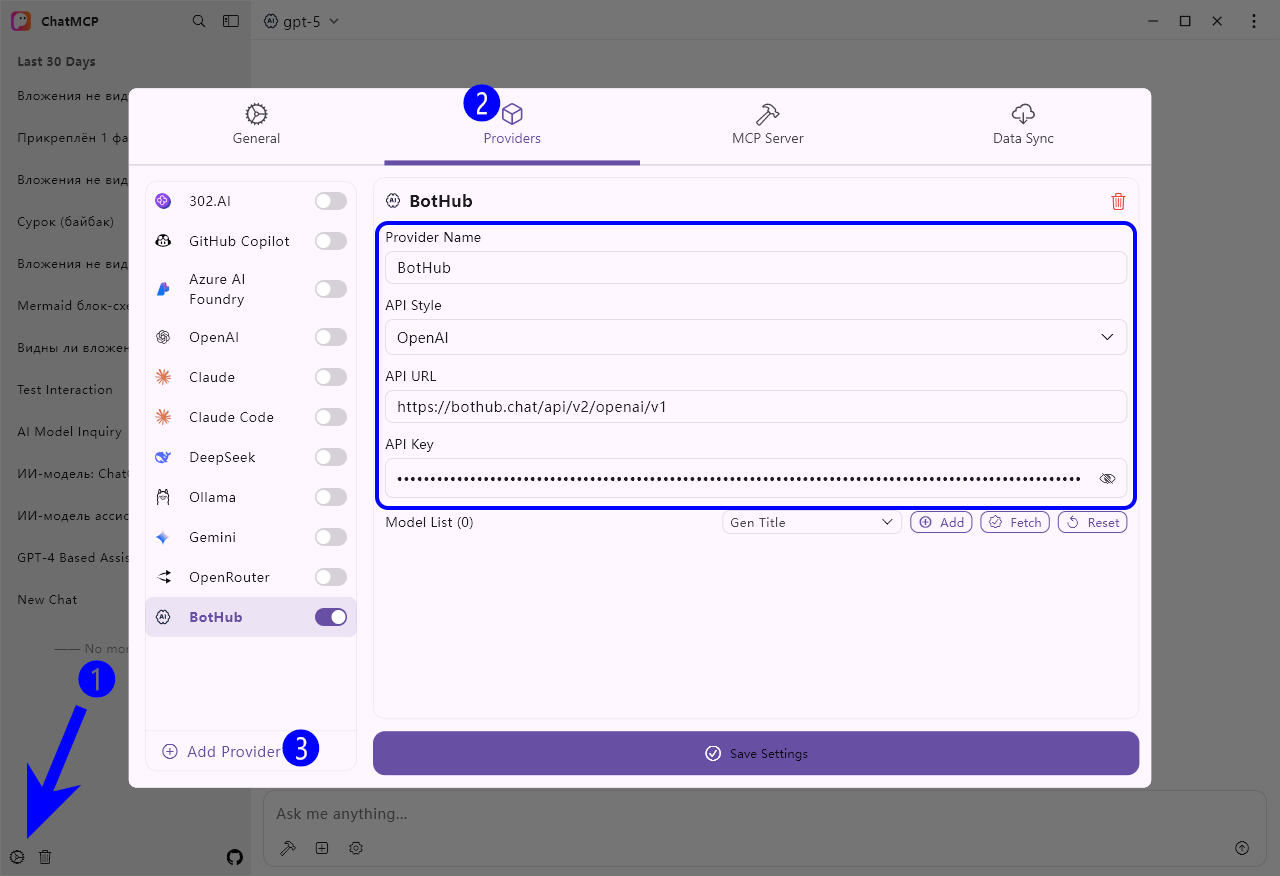
Go to Settings → Providers.
-
Click Add provider, enter “BotHub”.
-
Set parameters:
-
API style: OpenAI.
-
API URL: https://openai.bothub.chat/v1.
-
API key: can be generated/copied via this link.
-
Click Fetch to load the list of models.
-
In the Gen title section, select a model that will generate dialog titles. It’s better to choose a lightweight one, such as qwq-32b or gpt‑oss-20b.
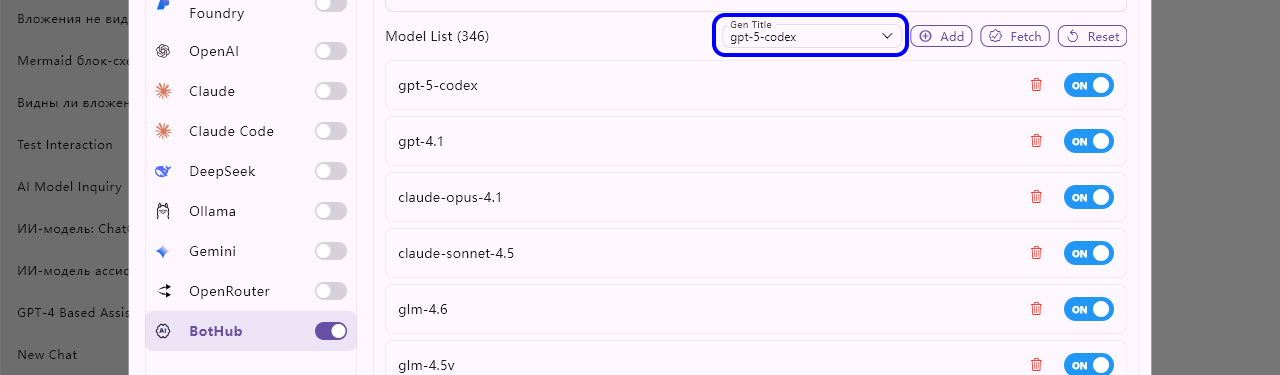
- Finally, click Save settings.
Tip: In General → System prompt, shorten the system prompt, leaving only the line "Use Mermaid to generate diagrams." All other phrases usually do not affect the model's behavior.
🧙 How to use ChatMCP
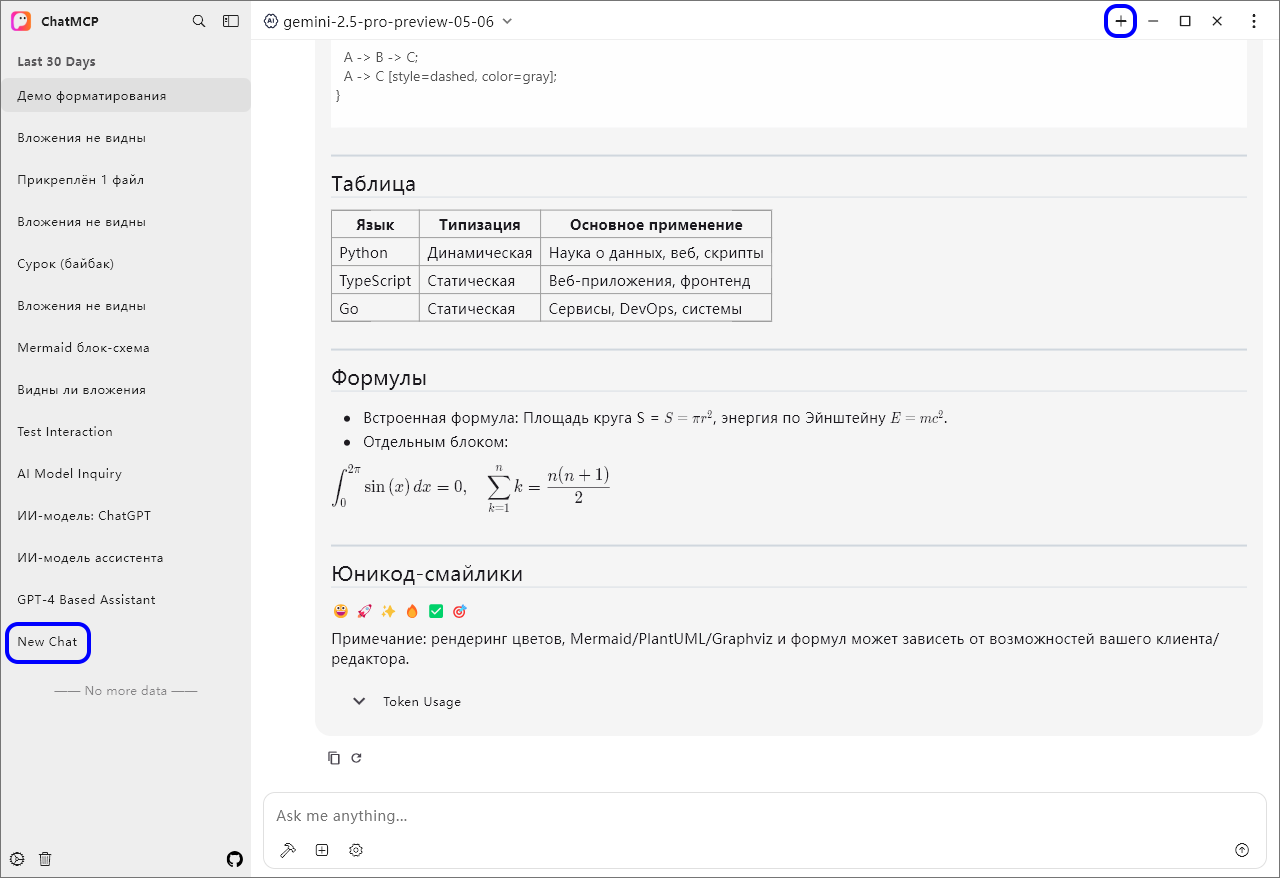
ChatMCP looks like a standard LLM client: at the top, you select a model; below, there’s an input field and a send button.
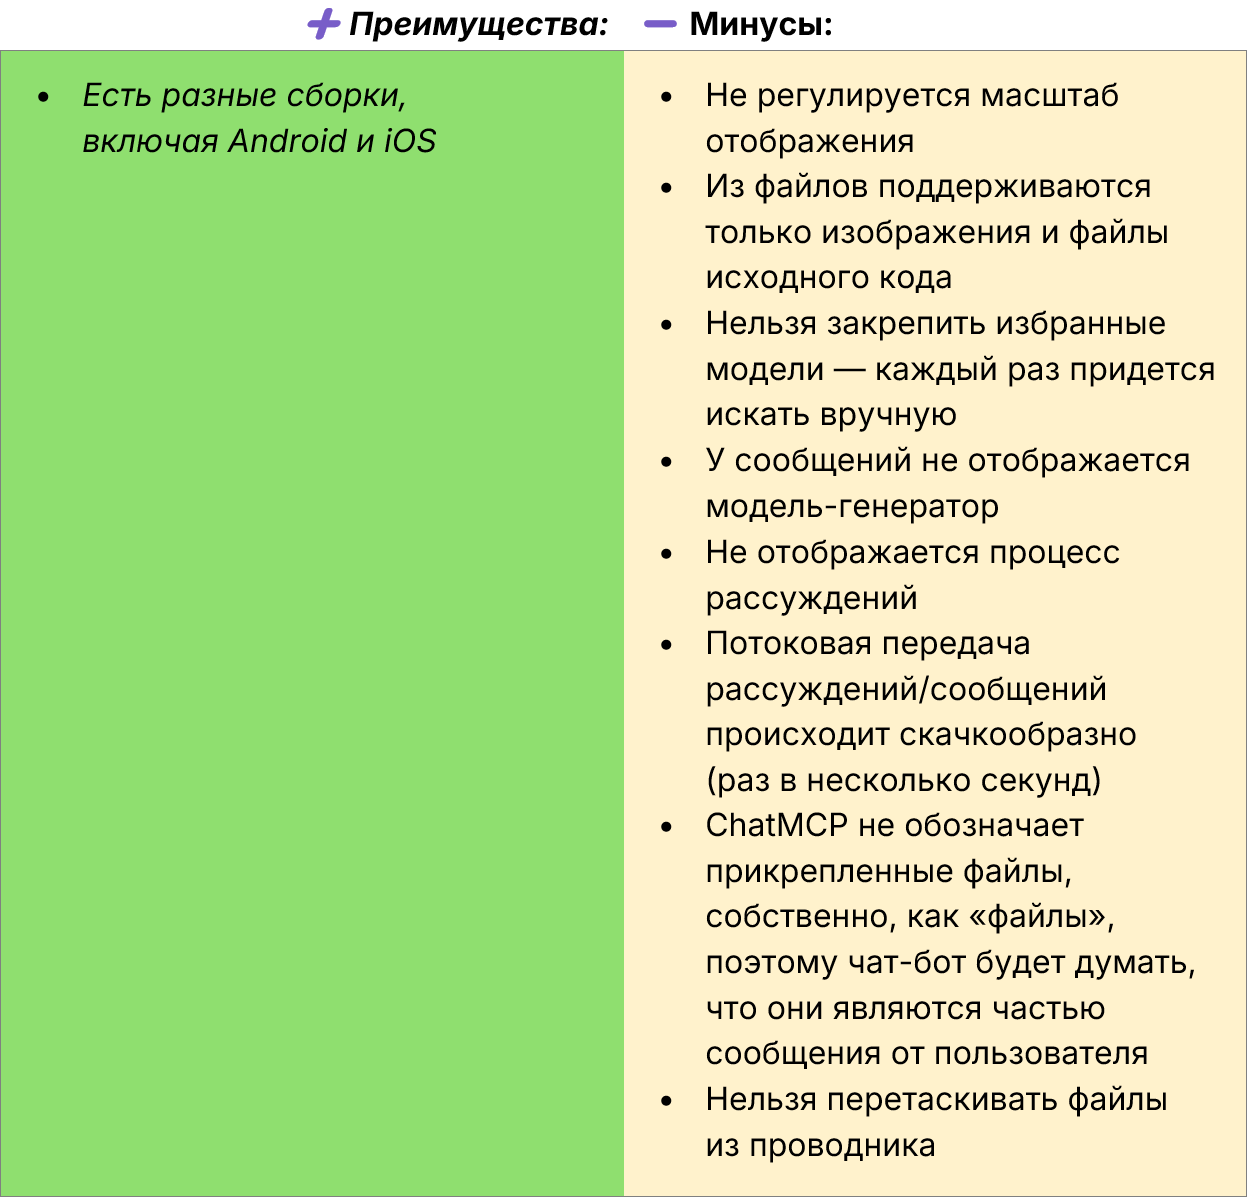
File support in ChatMCP is very limited: you can only attach images (one at a time) and source code files.
The new chat button is located at the bottom of the dialog list and to the left of the minimize button.
The current model parameters — t°, top‑P, max tokens, frequency penalty, presence penalty — are in the ⋮ menu → Model config.
More detailed article: https://habr.com/ru/companies/bothub/articles/953986